you will need:
- base/top coat
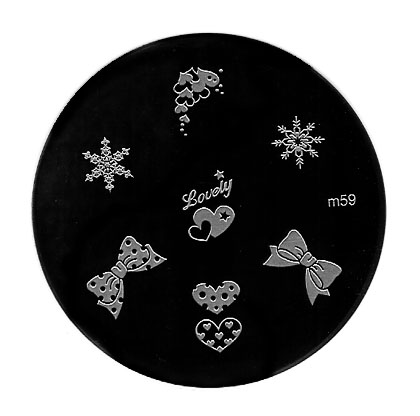
- M20 and M59
- Konad special polish in White
- light gold nail polish (OPI 'Glamour game')
- dark glitter polish (China Glaze 'Some Like It Haute')
Instructions:
01. apply base coat *let it dry*
02. paint the light gold polish diagonally
along one side of the tip of the nail *let it dry
03. paint the dark glitter polish diagonally along
the tip of the nail on the other side * let it dry
04. paint half of the snowflake designs with the
Konad special polish in White, scrape and stamp
05. stamp the snowflake along the dark glitter polish
06. continue on all nails or just do a few
07. apply top coat